Synology asked me to have a fresh look at parts their C2 suite – I’d previously dived into their C2 Backup for Business solution almost a year ago, and I’m keen to find out how they’ve progressed.
The solutions I was given to try were:
C2 Identity
C2 Password
C2 Backup
Encryption or Passkey Prerequisite
The C2 suite needs an Encryption Key which encrypts all C2 services, or the newly released Passkey option.
For the Encryption Key, there is also a Recovery Code as a backup if the Encryption key is lost – but without either, you can’t access any C2 service and your access is lost. The only option is to reset your C2 Encryption key which is destructive – all data in the service is lost because there’s now no way to decrypt the data Synology is hosting for you on the C2 services. I know this because I almost had to reset it (which would be fine, I was only using my own test data), but managed to remember what I’d entered as the key originally. It’s also worth noting that you can generate a 1 page PDF of your recovery code details – this would be worth printing out and putting in a safe in case of emergency.
Passkeys can be used instead of an Encryption Key, where biometrics/PINs are used, rather than a password. This is the more modern way things are going, so it’s worth setting this up.
C2 Identity

This is where Synology sees the C2 Identity cloud service sitting. Here’s where I can see it providing the best value:
“Sync users and groups from Windows AD or migrate seamlessly from Synology LDAP Server without the need to reset users’ accounts or passwords.” If you have an on-premises Synology device providing LDAP services, then seamlessly migrating it to C2 Identity would be a smooth approach to turning into a SaaS solution. Moreso, a company that has identity solutions all over the place could benefit from having this modular approach. If you were heavily invested and aligned with a single cloud provider, it may be best to use their pure native solutions end to end – but a mix of cloud auth providers, or a company who’s Microft Entra ID based who’s bought out another company that’s Google Cloud Identity based, could use this to bring in a standard and centralised authentication service.
Note that this service does not sync users/identities with cloud services such as Microsoft 365, but you can use that as a source for a one time import:


For my purposes (and because I don’t have a userbase!), I created a user manually – myself.

Managed Devices
C2 Identity isn’t just about usernames and passwords either, you can manage devices using an agent (both Windows and macOS supported)

The install of the agent for me was very quick and easy, and just runs inthe background. Once registered, the device will show in the C2 Identity portal with some basic information:

Command
What’s better though, is the Command options you can apply to your managed devices. These are commands you can trigger – either any command you want to do yourself, or pick one of the inbuilt ones which will continue to grow. Easily triggering an Auto-update of Windows across your entire fleet, or easily selecting a device to remote desktop to (and ping at the same time – I remember doing this as my first manual step any time I used to RDP to a desktop at work!).

These commands can either be run on demand (manually) or on time schedules/events (event options are at startup or at login):

Although reasonably simple, I can see this being very useful for a small business or a business with light requirements. Giving your 1-3 IT staff a tool like this makes both identity management and computer management easier than using native tooling alone (as well as the cross-platform support of both Windows and macOS).
Application
Another useful option is being able to add external identity providers (a.k.a. Applications). This allows you to use the single identity from C2 Identity across multiple solutions such as Google Workspace, Microsoft 365, Dropbox, and anything that support SAML (which these days is most things!).

The Edge Server option lets you “Set up an edge server that retrieves directory information from your C2 Identity. This server will authenticate C2 Identity users’ access to on-prem resources.”. This can run off either a local Synology NAS, or anything running Docker.
Other options include the Log of actions in C2 Identity, as well as Settings which has many customisations for an administrator of the service – as well as being able to brand your instance of C2 with your company’s logo, or look at setting up Passwordless Sign-in (beta at time of writing).
C2 Password
C2 Password is a password management system, and is actually free for personal use! If you want to give it a try, here’s the link. Also, here’s Synology’s C2 Password Security White Paper for those interested in some of the security specifics of this solution.

C2 Password has many supported platform extensions – iOS, Android, Google Chrome, Microsoft Edge, Mozilla Firefox and Safari. This should cover most normal business purposes, and is a nice cheap way of providing a managed password solution for both individuals, and a shared vault which can be handy for saving centralised/shared passwords (yes this is never great but you can’t control the password solutions of all your vendors)

The solution offers standard password generation options, as well as a ‘Login Security Overview’ which shows compromised passwords, weak passwords, reused passwords and Inactive 2FA (accounts without 2FA configured). This is visible to each user over their own vault, so is a nice easy way of putting concerns ‘in their face’ and to encourage better account management hygiene practises.
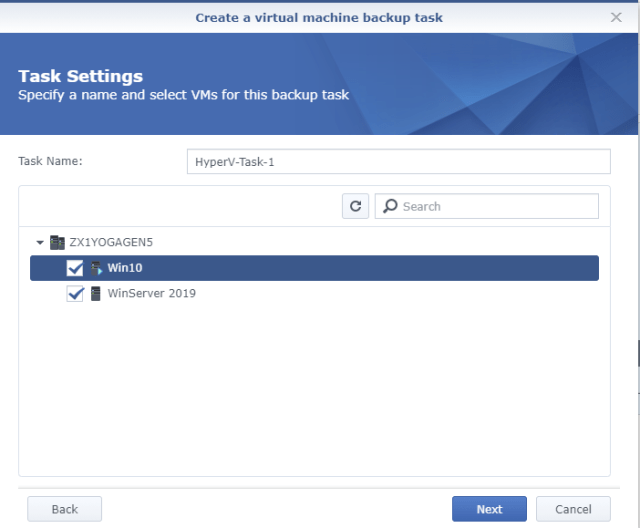
C2 Backup
C2 Backup for Business is a backup solution for both on-premises and cloud workloads. There is also an C2 Backup for Enterprise tier which has unlimited users, teams, and devices with 25TB available storage, and more available to add on. C2 Backup for Business however starts with:
5TB of available storage
250 maximum users
50 maximum teams
Unlimited devices
On-premises devices
This can either be personal computers or physical servers. Again, a backup client is required to be installed onto the device. The default policy is to back up the entire device (including anything plugged in externally such as a USB drive), which may be good for a very small business. However, there’s also the option to target just the system volume, or whichever volume you specify. This can be scheduled on a time basis such as daily, or event driven.
To manage your available space, you can use version control options too – maybe you just want the last 14 days of versions, or only the last 5 backups. You can also do tiered versioning (last day, week, month year) which may be a better option for on-premises servers.
If you have concerns about available bandwidth to a site, you can also define maximum upload speeds.
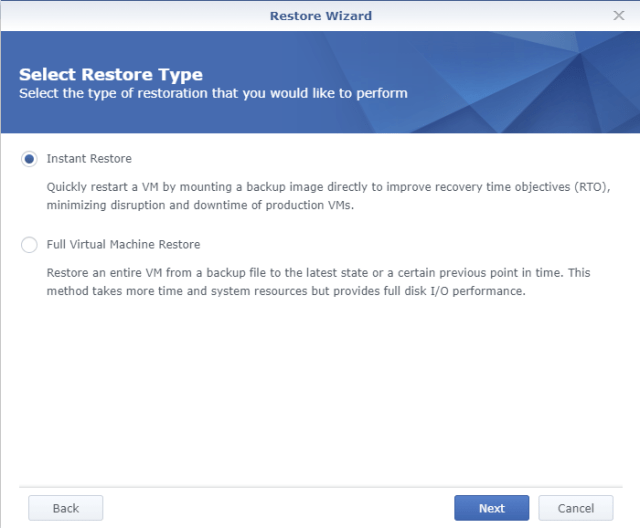
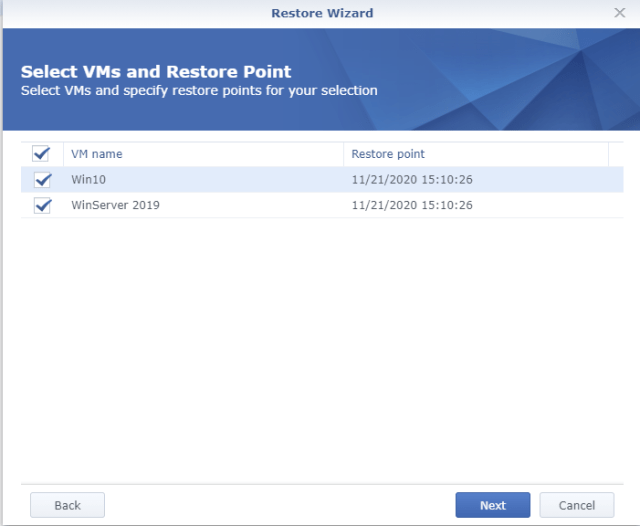
There is extensive documentation and guides on everything in the Synology C2 solutions, including how to restore a backup. If you want to do a bare metal restore, you can create recovery media on USB, or just recover certain files and folders to another computer which is just navigating through the version of the backup you want, picking the files/folders, and downloading. Easy!

Cloud Data
You can also backup Microsoft 365 data with the same subscription above – data stored on OneDrive for Business, SharePoint Online, Exchange Online, and Microsoft Teams. Once connecting to your Microsoft 365 tenant, the setup wizard will ask what you want to back up: which users, which sites (i.e. SharePoint Online), and which Teams. Although as part of setup you pick which items you want to back up, you also have the option of ‘auto-protection’ which will add anything newly created to the backup schedule, so you don’t have to go back each time and add them manually.

Your policy will also let you choose what data is backed up – Email, OneDrive, and Chat data. Again we have retention rules for versioning too.

For a small business, one of the nice aspects of this is a cloud to cloud backup (from Microsoft 365 > Synology C2). The bandwidth used between these two will have no effect on end users, especially important for sites with low bandwidth available.
To restore any of this data, there is a special ‘Recovery Portal‘ you can navigate to and restore the data locally.
Finally, in the Management section for C2 Backup you can look at a few options around notifications for events such as a backup failing, or when used storage is getting low. You can also see the state of each user and their used space for backups.
Summary
The Synology C2 Identity and Backup solutions are a good and relatively cheap priced (compare the prices for Backup and Identity) that are perfect for business that want to keep things simple. This can either be a business that has a mix of on-premises and cloud, or even purely Microsoft 365 cloud that needs a cheap backup somewhere just in case. I found the tools both portals and end user quite simple and easy to understand, laid out quite well. I will call out that being a simple solution, means it may not have the features or complexity requirements that some business may have – but the price of this solution reflects that. This can be a cheap way of ticking certain compliance options around data storage/backups and identity management too. The C2 web interface was incredibly snappy to use with every page and menu loading quickly – not something that can be said about many other solutions.
These solutions also have 30 day trials (Backup, Identity) that you can play around with, to see if they’ll suit your requirements.