“I’ve lost a document and can’t find it!” is a common phrase that nobody likes to hear. Most people are working in Microsoft Word for their documents, and although it has a bunch of nice features for autorecovering lost work, it doesn’t cover all scenarios.
There’s even a new feature which autosaves your work as you go; as long as the document is in SharePoint Online or OneDrive for Business.
However, it’s still easy for someone to accidentally close a document and say ‘no’ to saving changes, or other scenarios where documents get overwritten with the wrong information. A document management system (DMS) with versioning (such as SharePoint) can help, but I’ve yet to hear of a company that has 100% of their documents at all times in their DMS!
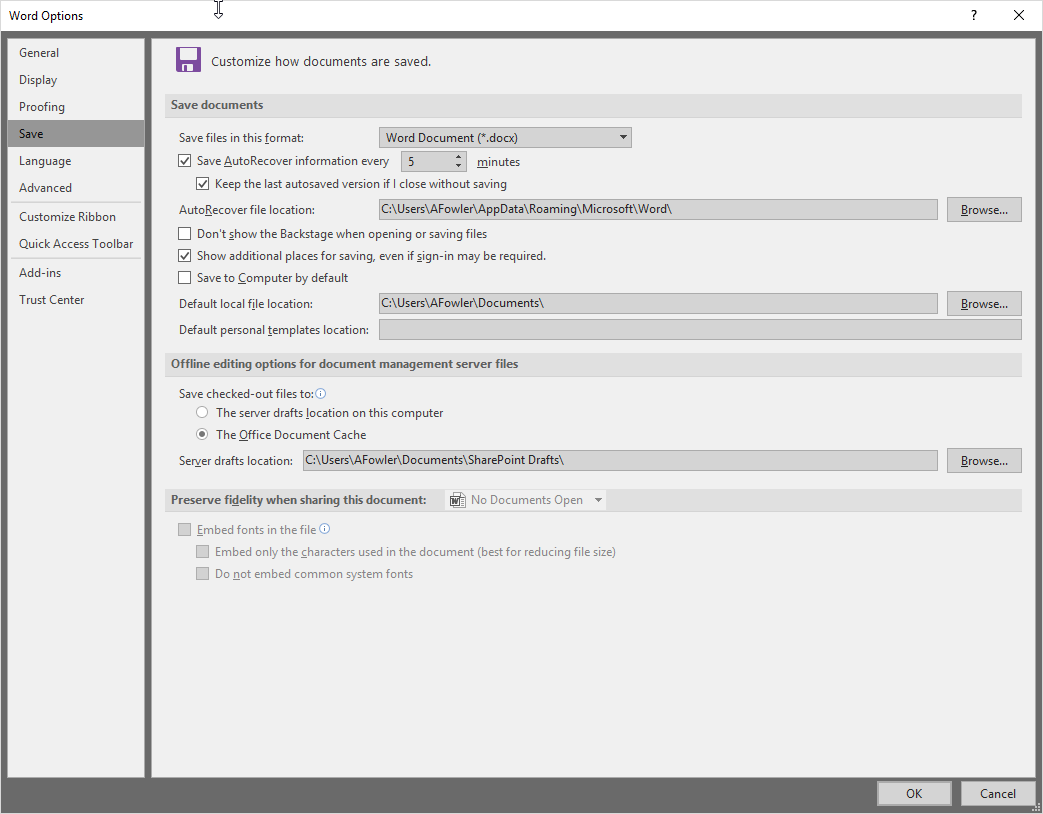
Anyway, after seeing many scenarios of lost work, I thought there might be another method I can implement to help capture lost data. Microsoft Word’s Autorecover function does work quite well, in keeping an ASD file updated at regular intervals (10 minutes by default) which are saved in C:\Users\username\AppData\Roaming\Microsoft\Word\ (by default). I changed this to 5 minutes rather than 10:
Microsoft Word Options > Save screen
Autorecover will update an ASD file in this folder for each document you have open, on the frequency configured above. That file can get closed or lost depending what the user clicks (again, closing and not saving a document is a scenario that will lose the ASD).
My idea was to back up these ASD files also on a 5 minute interval, giving another avenue to restore lost documents. Because the AutoRecover starts at a random time, a script running every 5 minutes would also start at a random time, and together there’d be a 5 to 10 minute window on copying out the backup files, which isn’t a huge amount of work to lose if someone had been working for hours.
Here’s the PowerShell script I wrote. It first sets a few variables that can be configured, then does a cleanup of previous backups. If they’re > 2 days old, backup folders are purged or we’d have an ever growing amount of backups. The 2 day value in (Get-Date).AddDays(-2) can be changed.
Then, it runs a filecheck to make sure there’s ASF files to back up. If not, the script breaks. If files exist though, it then creates the Backup folder, creates a sub folder based on the date/time and then copies the ASD files into that folder.
The format of the folders is set at the very start of the script, and again can be changed to a different format if you prefer.
(note that the File copy section was taken from here). Save the above as a .PS1 script and you’re good to go.
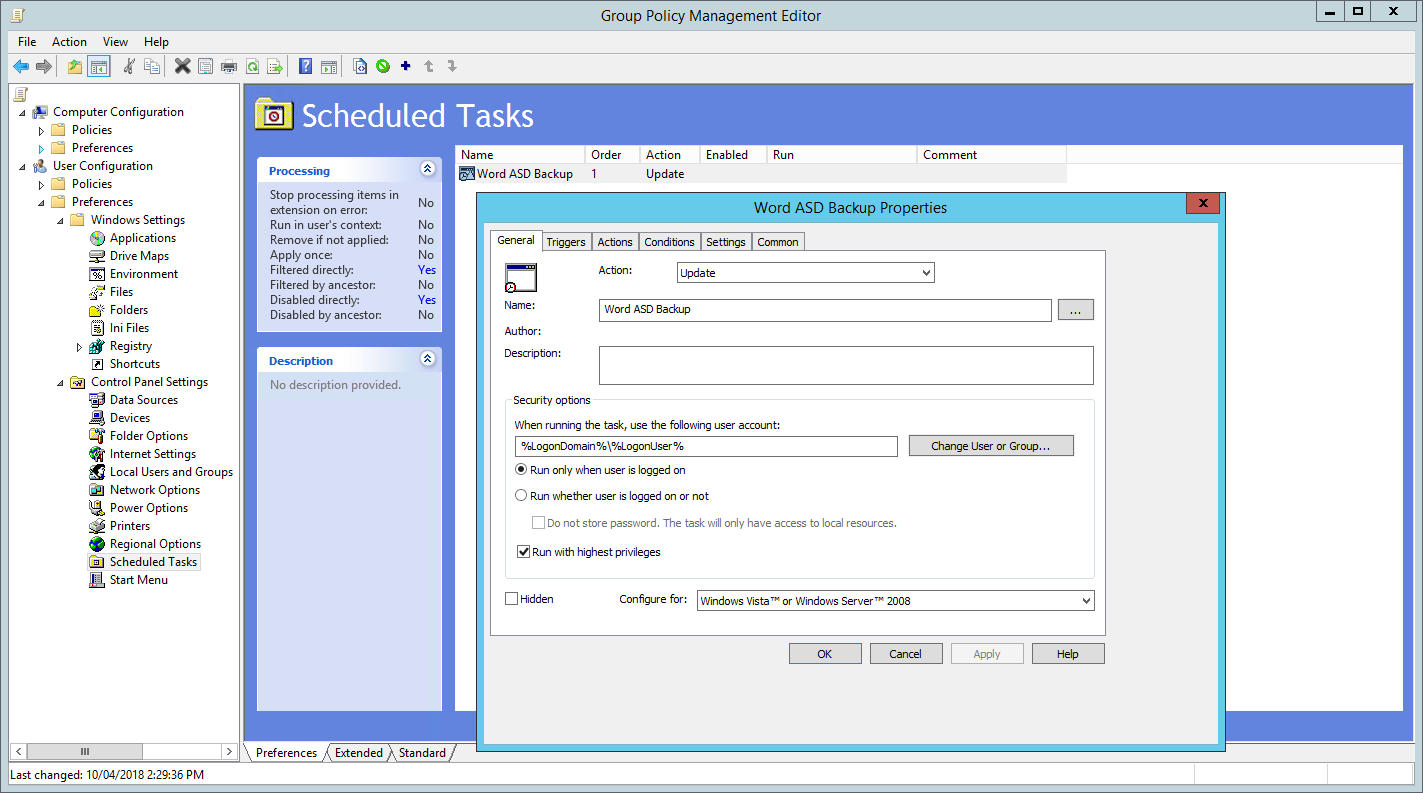
That worked well after a lot of testing, but the next problem was getting it to run on everyone’s computer. Using a Scheduled Task means we can configure it to run however often we like and whenever we like, as well as being able to push out the task via Group Policy. However, you can’t run PowerShell scripts silently just by running a PS1 file when triggered from Scheduled Tasks.
Scheduled Task pushed out via Group Policy
There is a great workaround here which uses a VBS file to then trigger the above PS1 script. the VBS component itself runs silently which in turn runs the PS1 script silently. Here’s a copy of the script in case the link goes dead, but please read the original link for more details:
Set objShell = CreateObject("Wscript.Shell")
Set args = Wscript.Arguments
For Each arg In args
 Dim PSRun
 PSRun = "powershell.exe -WindowStyle hidden -ExecutionPolicy bypass -NonInteractive -File " & arg
 objShell.Run(PSRun),0
Next
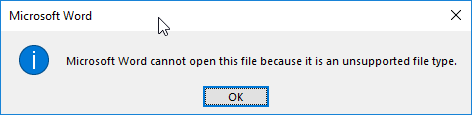
The final catch is then opening an ASD file when you want to recover something. To open a recovered file, in Word go to File > Info > Manage Document > Recover Unsaved Document (if the Info link is greyed out, open a new blank document first). If you had to navigate away from the default location it shows to open the ASD file, you will probably see this error:
Microsoft Word cannot open this file because it is an unsupported file type
As pointed out here, for some reason Word doesn’t like opening the file unless it’s in the special ‘UnsavedFiles’ location. Luckily you can just copy the ASD file into this folder (which by default is C:\Users\%username%\AppData\Local\Microsoft\Office\UnsavedFiles” ) and then open it as per the above method.
Keep in mind, both the PS1 and VBS files also need to be available to the user, which you may want to also push out by Group Policy. Just make sure the file called by the Scheduled Task exists, or the users will see an error saying the file can’t be found, every single time the script runs.
Update 20th August 2020
Few more updates, support for PowerPoint, changed the backup location to the ‘Recover Unsaved Documents’ location so staff don’t need to remember a particular location. Feel free to post any questions about it.
Thanks Aaron for sanity checking the script!
#get-date format https://docs.microsoft.com/en-us/powershell/module/microsoft.powershell.utility/get-date?view=powershell-6
$date = get-date -uformat %Y%m%d%H%M


$SourceDir= "$env:APPDATA\Microsoft\Word\"
$backupdir = "$env:LOCALAPPDATA\Microsoft\Office\UnsavedFiles\"
$targetDir = "$env:LOCALAPPDATA\Microsoft\Office\UnsavedFiles\Word\$date"

$SourceDirExcel= "$env:APPDATA\Microsoft\Excel\"
$backupdirExcel = "$env:LOCALAPPDATA\Microsoft\Office\UnsavedFiles\"
$targetDirExcel = "$env:LOCALAPPDATA\Microsoft\Office\UnsavedFiles\Excel\$date"

$SourceDirPowerPoint= "$env:APPDATA\Microsoft\PowerPoint\"
$backupdirPowerPoint = "$env:LOCALAPPDATA\Microsoft\Office\UnsavedFiles\"
$targetDirPowerPoint = "$env:LOCALAPPDATA\Microsoft\Office\UnsavedFiles\PowerPoint\$date"

Get-ChildItem $backupdir -Recurse | Where CreationTime -lt  (Get-Date).AddDays(-7)  | Remove-Item -Force -recurse
Get-ChildItem $backupdirexcell -Recurse -hidden | Where CreationTime -lt  (Get-Date).AddDays(-7)  | Remove-Item -Force -recurse

#Clean up old backup files if they exist
remove-item "C:\Users\$env:username\AppData\Roaming\Microsoft\Word\Backup\" -Recurse -Force
remove-item "C:\Users\$env:username\AppData\Roaming\Microsoft\Excel\Backup\" -Recurse -Force


$Filecheck = get-childitem $sourcedir -filter *.asd -recurse
$FilecheckExcel = get-childitem $sourcedirExcel -filter *.xar -Hidden -recurse
$FilecheckPowerPoint = get-childitem $sourcedirPowerPoint -filter *.tmp -recurse

If ($Filecheck -ne $null) {

md $targetDir

Copy-Item $file -Destination $targetdir -Recurse -force

}

If ($FilecheckExcel -ne $null) {

md $targetDirExcel

set-location -path $sourceDirExcel

Copy-Item $file -Destination $targetdir -Recurse -force
}

If ($FilecheckPowerPoint -ne $null) {

md $targetDirPowerPoint

Copy-Item $file -Destination $targetdir -Recurse -force

}


 List of Excel 2016 Templates
 Creating an Excel 2016 Template
 Something went wrong