Windows 10

Clipboard History Is Coming In Windows 10

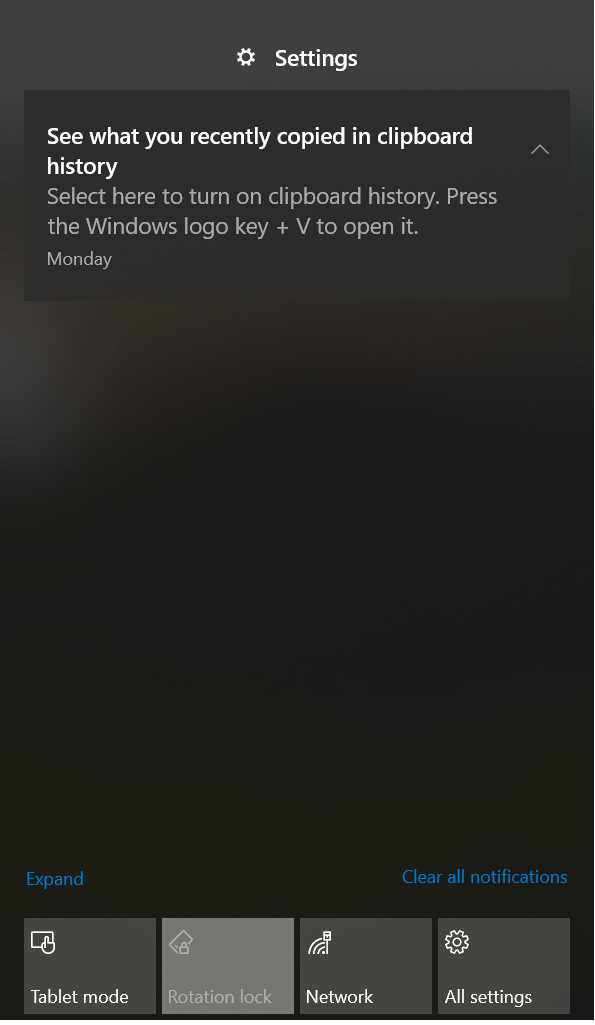
I play with and use Windows 10 Insider builds but don’t often blog about them – there’s plenty of other people that do that already. However, I saw this notification come up which seemed very useful; Clipboard History!


Something I’ve been wanting for many years. I currently use Ditto which I recommended in another writeup of free sysadmin tools for TechTarget. However, if a native solution does enough for me I’d rather use that – I’m on that many different systems and devices, having non-native apps is a pain that I’m not going to bother with.

I might be a bit late to the party – on May 9th 2018, Build 17666 was announced with this feature. I’ve had a quick play and like it… so how does it work?

First, go into Settings > System > Clipboard. You’ll need to toggle the ‘Save multiple items’ to ‘On’. This is probably good being off by default, I can imagine complaints about Microsoft tracking what people do or someone finding something in the history that another person did.

Once that option is on, you can use Windows Key + V to bring up the clipboard history window:

It will be blank at the start, unless you’ve used the clipboard since enabling the feature. Text and images are both supported which is great! Selecting the history item will immediately paste it as well as put it onto your clipboard. It’s basic but does the job

On top of this, there’s also a ‘Sync across devices’ option for the clipboard history. You can enable that in the same settings area, and your clipboard will be available from all devices that support it. Right now that seems to only be Windows 10 on this insider build or newer, but I’d expect it to go further to mobile devices when released properly. This is a great way to send a small bit of information such as a long URL from one device to another.

However, if you use a password manager where you copy and paste usernames and passwords from, they’ll get added to this history also. If someone were able to gain access to this history, it could be a quick gateway to accessing a lot of your other stuff – so use multi-factor authentication wherever you can.

Still, it’s a great feature albeit simple – it’s nice to see Windows 10 getting loaded with different mini-utilities that add to it’s usefulness, while leveraging a centralised Microsoft account to keep and sync information.


OneDrive for Business Auto Sign In – Windows 10

If you’re looking at starting to use OneDrive for Business and you’re working with a PCs joined to a local domain, you can now have a seamless sign in experience for end users (Note that the Group Policy setting for this is in preview according to the documentation).

OneDrive for Business from the client’s perspective has been dropped. It’s just OneDrive now, even though the backend is OneDrive for Business as part of an Office 365 subscription.

You’ll need Windows 10 1709+ for this, as that’s the first version of Windows 10 that has OneDrive baked in. There’s no deployment of the app required then, so you won’t need to use or modify OneDrive for Business. The newer client has much less syncing issues too – if you’re not sure what one you’re using, check what executable is running. OneDrive.exe is the new client, where Groove.exe is the older.

Since OneDrive is part of Windows 10 now, if you aren’t ready for this or don’t want it yet, you’ll need to use the Group Policy setting ‘Prevent the usage of OneDrive for file storage’ which is found in Computer Settings > Policies > Administrative Tempates > Windows Components > OneDrive (note that this is different to the location of where the above new policies sit for OneDrive, which is one level down straight under Administrative Templates).

If you’re migrating from an existing install, then you’ll need to follow this process. Otherwise if you’re starting fresh, there’s a great guide here to go through.

The short version of these steps is:

  1. Windows 10 1709 already has OneDrive, so no deployment required.
  2. Get the ADML and ADMX Group Policy files and deploy them in your environment. Make sure they’re the latest ones too, which you should be able to get from any Windows 10 1709 PC in the path %localappdata%\Microsoft\OneDrive\BuildNumber\adm\
  3. Configure your Group Policies to the settings you want, but the one you’ll need for auto sign in is “Silently configure OneDrive using Windows 10 or domain credentials“. This setting should set the regsitry key [HKEY_LOCAL_MACHINE\SOFTWARE\Policies\Microsoft\OneDrive] “SilentAccountConfig”=dword:00000001. With this setting, there’s an extra registry settings to configure:[HKEY_CURRENT_USER\SOFTWARE\Microsoft\OneDrive] “EnableADAL”=dword:00000001 – This setting enables Modern Authentication for OneDrive.

That’s it!

After this is configured and you log on, the OneDrive client will automatically sign in as the logged on user – assuming you’re properly set up on the Azure AD and Office 365 side of things. There’s no prompt, no notification and users can start using it straight away at their convenience.

Note that if you disabled OneDrive from running at first user login (usually via the registry key HKEY_CURRENT_USER\Software\Microsoft\Windows\CurrentVersion\Run with something like “C:\Windows\SysWOW64\OneDriveSetup.exe /silent”, you’ll need to retrigger the install. That /silent switch will make OneDrive install and sign in automatically with the above settings.

If you’re planning on moving user’s home drives to OneDrive, you’ll need to manually move the files or run a script like this to migrate the data – or find a paid solution.

Update 26th April 2019:
I had this broken for a while, and found many others that also had it broken. For me, after spending months with OneDrive for Business support, I ended up working out the Group Policy was corrupt in some way. Completely disabling the policy and creating a new one with the identical settings worked.

For context, I had one Group Policy object that disabled OneDrive. A second one with a higher link order, was targeted at certain users and groups to enable OneDrive. That second one was somehow the problem – maybe an update to ADMX files broke it?

Anyway, re-doing that, and using the reg key to deploy OneDriveSetup.exe to run at login with the switch ‘/thfirstsetup’ was all that was needed, and it worked again.

If you’re having problems yourself with this, put a user and computer in an OU that has all policy inheritance disabled, create new GPOs and try to get it to work that way.

Controlling Microsoft Store Access

If you’re managing a fleet of computers in a business, you may not want users being able to access everything in the Microsoft Store. Having users a few clicks away from installing ‘Slotomainia’ or ‘Ninja World’ might not be what you want readily available on a business computer. You may also not want other services that can contribute to data leakage, or shadow IT type solutions that users decide to adopt.

As long as you are running Windows 10 Enterprise or Education, you could completely disable the Microsoft Store functionality by either using Applocker to maintain a whitelist of allowed packaged apps, or using Group Policy to enable the “Turn off Store application” under Computer Configuration > Administrative Templates > Windows Components.

For Windows 10 Pro and Home users, this won’t work so you’ll have to try other methods such as uninstalling Windows Store on each PC with the PowerShell command Get-AppxPackage ​*windowsstore*​ | Remove-AppxPackage

Disabling the Microsoft Store entirelybut you may find that there is a requirement to use a few of the Microsoft Store apps by your users. For this option (again just for Enterprise and Education, and you’ll need Office 365 or Azure AD), you can instead have a Private Store. This is enabled again in Group Policy, using the setting “Only display the private store within the Microsoft Store app” again under Computer Configuration > Administrative Templates > Windows Components.

The Microsoft Store will look pretty bare at this stage (I see the 5 apps in the screenshot below by default), so you’ll want to add or remove some apps. This is done online, Enterprise customers go to https://businessstore.microsoft.com and education customers go to https://educationstore.microsoft.com. You’ll need to sign in with an account that’s an Azure AD or Office 365 Global Administrator, but can then grant access to others.

To add an app, under ‘Shop for my group’ you can search or click through options to find the app you’re after – I’ve chosen Microsoft To-Do for this example. Going onto the app’s page will give you a button that says ‘Get the app’. Once you click that, you’ll see the message “Microsoft To-Do has been purchased and added to your inventory.” After you’ve done that, go to the “Manage” tab and then the “Products and Services” option on the right hand side. Find the app, click the ellipsis (…) and choose “Add to private store”

You will finally see a message saying that the app has been added to your store, but may take up to 36 hours* to show.

There’s also the option to assign an app to a user, this is only needed if it’s a licensed or paid for app that you want to give only to certain users – you may have bought 10 copies of a particular Windows Store app and need to control who has access to it.

It’s worth having a look through the other options on this page as you can control settings such as letting users make purchases,  what your organisation will be called in the Microsoft Store app and if you get invoices for the store via email.

Overall the Private Microsoft Store is rather easy to set up, lets you give users self-service access to apps that you allow, and gives you an easy way of letting someone install a Microsoft Store app in the future without having to enable the entire store.

*Update 2nd August 2018

There’s been a great improvement to the 36 hour wait, it’s now within 15 minutes! More details here

Deploying a Locked Down Start Menu in Windows 10

The tiles in Windows 10’s Start Menu can be rather messy. By default, you get a lot – and they may be things you don’t want there such as News, Sports, Photos, Microsoft Store etc.

Since Windows 10 1607, there’s been a way to control this. Customize Windows 10 Start and taskbar with Group Policy covers how to do this, but there’s some errors and links that don’t work, so I thought it was worth giving a quick overview on how to do this.

Keep in mind that this process locks down the Start Menu tiles completely, users won’t be able to add, remove or change anything to do with tiles.

The first step is to configure the Start Menu tiles how you want them on a computer. You can add, remove, move, resize etc until you’re happy with how it looks.

Once that’s done, you’ll need to export the layout to an XML file. Easily done by opening PowerShell and running Export-StartLayout. This needs the -Path switch, e.g. Export-StartLayout -Path “C:\temp\startmenu.xml”

Copy the resulting startmenu.xml file into a central location that clients will be able to access, or copy it out to each machine through Group Policy Preferences. This XML file will be called in the Group Policy setting “Start Layout”.

The Group Policy setting called “Start Layout” lives in User Configuration or Computer Configuration > Policies> > Administrative Templates >Start Menu and Taskbar. You’ll probably want this at the user level rather than the computer level, but it depends at what layer you want this locked down at. 

If you can’t see this policy at all, then you may need to update your Group Policy templates. Each time a new version of Windows 10 comes out, there’s usually new or updated Group Policies to use. There’s a good step-by-step here if you need help – I’d recommend downloading the templates that match the latest version of Windows 10 you’re managing.

Start Layout in Group Policy

For this policy, you’ll be setting the radio button to Enabled, and setting the Start Layout File value to the path of the XML file that you copied out or placed centrally.

Start Layout Settings

Once that is done, the Group Policy object containing this setting needs to be pointed at the users or computers you want it to apply to, just like any other Group Policy.

The end result is the client then having the same Start Menu tiles configured in the XML file.

You may find that some of the tiles are missing. I’ve seen this happen when the shortcut the XML points to isn’t in the location expected. Here’s an example XML file with just one tile configured for Notepad:

<LayoutModificationTemplate xmlns:defaultlayout="http://schemas.microsoft.com/Start/2014/FullDefaultLayout" xmlns:start="http://schemas.microsoft.com/Start/2014/StartLayout" Version="1" xmlns="http://schemas.microsoft.com/Start/2014/LayoutModification">
 <LayoutOptions StartTileGroupCellWidth="6" />
 <DefaultLayoutOverride>
 <StartLayoutCollection>
 <defaultlayout:StartLayout GroupCellWidth="6">
 <start:Group Name="">
 <start:DesktopApplicationTile Size="2x2" Column="0" Row="0" DesktopApplicationLinkPath="%APPDATA%\Microsoft\Windows\Start Menu\Programs\Notepad.lnk" />
 </start:Group>
 </defaultlayout:StartLayout>
 </StartLayoutCollection>
 </DefaultLayoutOverride>
</LayoutModificationTemplate>

When a Tile is added to the Start Menu, if it doesn’t exist already, it will create a .LNK file and uses that for the tile. You may need to copy these off the computer you created the tiles on the in first place too, and copy them out to the same path on the computers you’re pushing this setting to.

You can also manually update or change the XML file yourself, which can sometimes be easier than going through the whole export process again.

One last thought I have on this, is that you can have multiple XML files going to different computers or users based on their requirements – but don’t over complicate things or you’ll be constantly managing tiles!

How To Suppress “A website wants to open web content using this program on your computer”

As part of Windows 10 testing, I came across this prompt.

Internet Explorer Security
A website wants to open web content using this program on your computer
This program will open outside of Protected mode. Internet Explorer's 
Protected mode helps protect your computer. If you do not trust this 
website, do not open this program.
Name: XXX
Publisher XXX

Do not show me this warning for this program again

When you open a file from a site that is an internet site zone (that is, not in your intranet zone or trusted sites zone) for Internet Explorer 11, you’ll be prompted with the above Internet Explorer Security prompt.

This doesn’t happen for IE11 on Windows 7.

Because there’s a tickbox that lets a user suppress the prompt in future for when that particular program is called, it may just get in the way for users the first time they see it and cause confusion. It’s on a per app basis – once you allow Microsoft Word, it’s allowed for all sites, but that won’t allow Microsoft Excel.

To stop this prompt for commonly used applications, you can use Group Policy to roll out registry settings that would be applied if the user had ticked the box already for that app.

The registry settings live in HKEY_CURRENT_USER\Software\Microsoft\Internet Explorer\Low Rights\ElevationPolicy\ with a unique GUID for each application.

Here’s a screenshot showing settings for Microsoft Word:

Here’s the raw registry settings:

Windows Registry Editor Version 5.00

[HKEY_CURRENT_USER\Software\Microsoft\Internet Explorer\Low Rights\ElevationPolicy\{342263D0-430D-4325-919B-666CE94C4334}]
"Policy"=dword:00000003
"AppPath"="C:\\Program Files (x86)\\Microsoft Office\\Office16"
"AppName"="WINWORD.EXE"

This can be saved into a .reg file, imported onto your PC, then using Group Policy’s Registry Import Wizard, imported into a Group Policy and deployed. Again, this will need to be done for each application you want to automatically allow.

Edit: I’ve found there’s a possible second location, depending what app the link is trying to call:

HKEY_CURRENT_USER\Software\Microsoft\Internet Explorer\ProtocolExecute

Under the specific protocol key, there will be a value for ‘WarnOnOpen’ with the DWORD value of 0 to disable it.