
My 5+ year old PC was finally ageing – Battlefield 1 was maxing out the Intel i5 CPU! It’s time to upgrade to a whole new kit. After some research and help from PC Part Picker, this is what I bought:
Intel Core i7-7700K 4.2GHz Quad-Core Processor
Deepcool Gammaxx 400 CPU Cooler
MSI Z270 GAMING M5 ATX LGA1151 Motherboard
Corsair Vengeance LPX 16GB (2 x 8GB) DDR4-3200C16 Memory
Intel 600p Series 512GB M.2-2280 Solid State Drive
Corsair 300R ATX Mid Tower Case Windows Edition
Corsair CS650M Modular 80 Plus Gold ATX Power Supply
You may notice there’s no GPU. I’ll be re-using my NVIDIA GTX970 as that was more recently updated. If I didn’t have that, I would have probably chosen a GTX1070. I also added in an old DVD drive and 1.5TB HDD because why not.
Notes from during the build:
Lining up the motherboard back panel into the case, and then getting the motherboard to line up with it. It looked like it was in place, but not enough to have the screws in the case line up with all the holes in the motherboard.
CPU Fan – Completely my fault, I put the wrong brackets on. I was still thinking of my old 1155 pin CPU when I followed the back of the box instructions, rather than the 1151 pins that my new CPU was. Then I had to work out how the weird clips worked, as there was a single line of instruction: “Well note: turn before push”. Apparently that means don’t turn at all, which took some trial and error to discover.
Working out how to install M.2 SSDs – this wasn’t really a problem, just something I hadn’t done before. It’s held in place with a screw and screw holder, which I eventually found already in the motherboard, but in a hole designed for the largest M.2 card possible.
This case is pretty good for HDDs and DVD Drives – it’s a screwless solution for both, but you do need to access both sides of the case. Both sides also come off easily with 2 thumb screws.
I did a bit of cable management, which previously I hadn’t bothered with as I’d be changing things around every couple of months (I remember adding my 9th 320GB HDD to my PC years ago, and then trying to juggle SATA and power cables around to make it all work). The case again was pretty good for this, I just fed the cables through to the bottom side of the motherboard, then brought them back out again where they needed to go.
CPU was just a drop in the right way, have the arrows line up job. Pushing the bracket back onto the CPU to hold it into place is a little worrying, more force is required then I was comfortable applying.
PSU is modular, so you can have just the cables you need coming out of it which reduces clutter. 650w is overkill I’m sure for this, as I could have bought a 550w for half the price but it wouldn’t have been modular, and I also like keeping my options open for future changes. Installation of the unit was sliding in and putting a couple of screws on.
The GPU I already had fits in with lots of room – it looks like they’ve changed the design of the PCI-E slot which used to have a plastic tab to bend to insert or remove the card – that’s changed to a tab that’s the same style as the RAM sockets.
RAM hasn’t changed at all installation wise :) The only trick is to make sure you populate the right slots – check the manual, but usually it’s also on the motherboard too (which it was in this case).
Idling temps after install were around the 39oC – but after overclocking and leaving it a few days, it seemed to settle lower at 37oC.
Getting the software going:
Thankfully after getting it all together and installing Windows 10, there were no issues. Lucky I installed that DVD drive, as the network device wasn’t installed with a default driver, and I had to load it off the included CD-ROM. Yep, 2017 and we’re still loading base drivers that way.
The amount of utilities provided by MSI is a bit silly, and it’s really hard to tell what any of them do until you install them. I’ve got one that claims to give a fast boot – the few seconds it takes without that is fast enough already. The MSI Command Center is useful as it shows CPU/RAM settings and speeds, as well as system temp. The MSI Gaming App was the one that let me turn off the motherboard’s LED, rather than setting it to ‘breathe’ where it would fade in and out in one of 7 amazing colours.
I also used the motherboard’s inbuilt overclocking ‘gaming mode’ option – it upped the CPU from 4.2Ghz to 4.8Ghz. I found another option around the RAM where I set that to 3200Mhz, and it did it’s thing on changing settings to match that RAM speed. If you’re not going to do this by the way, don’t get the ‘K’ series Intel I7, or RAM faster than 2400Mhz because that’s all it will run at out of the box.
Also, if you have a look at some comprehensive reviews you’ll see that there’s barely any benefit in the 7th generation Kaby Lake Intel CPUs vs the 6th generation Skylake (don’t ask me why Skylake is one word, and Kaby Lake is two words either), if you aren’t using the onboard GPU which gets the biggest gains. Right now, the price is pretty much identical between the 6700K and 7700K which is why you might as well go the newer one – there’s no negatives there.
This setup is very quiet too, there’s minimal noise from any fans which is great.
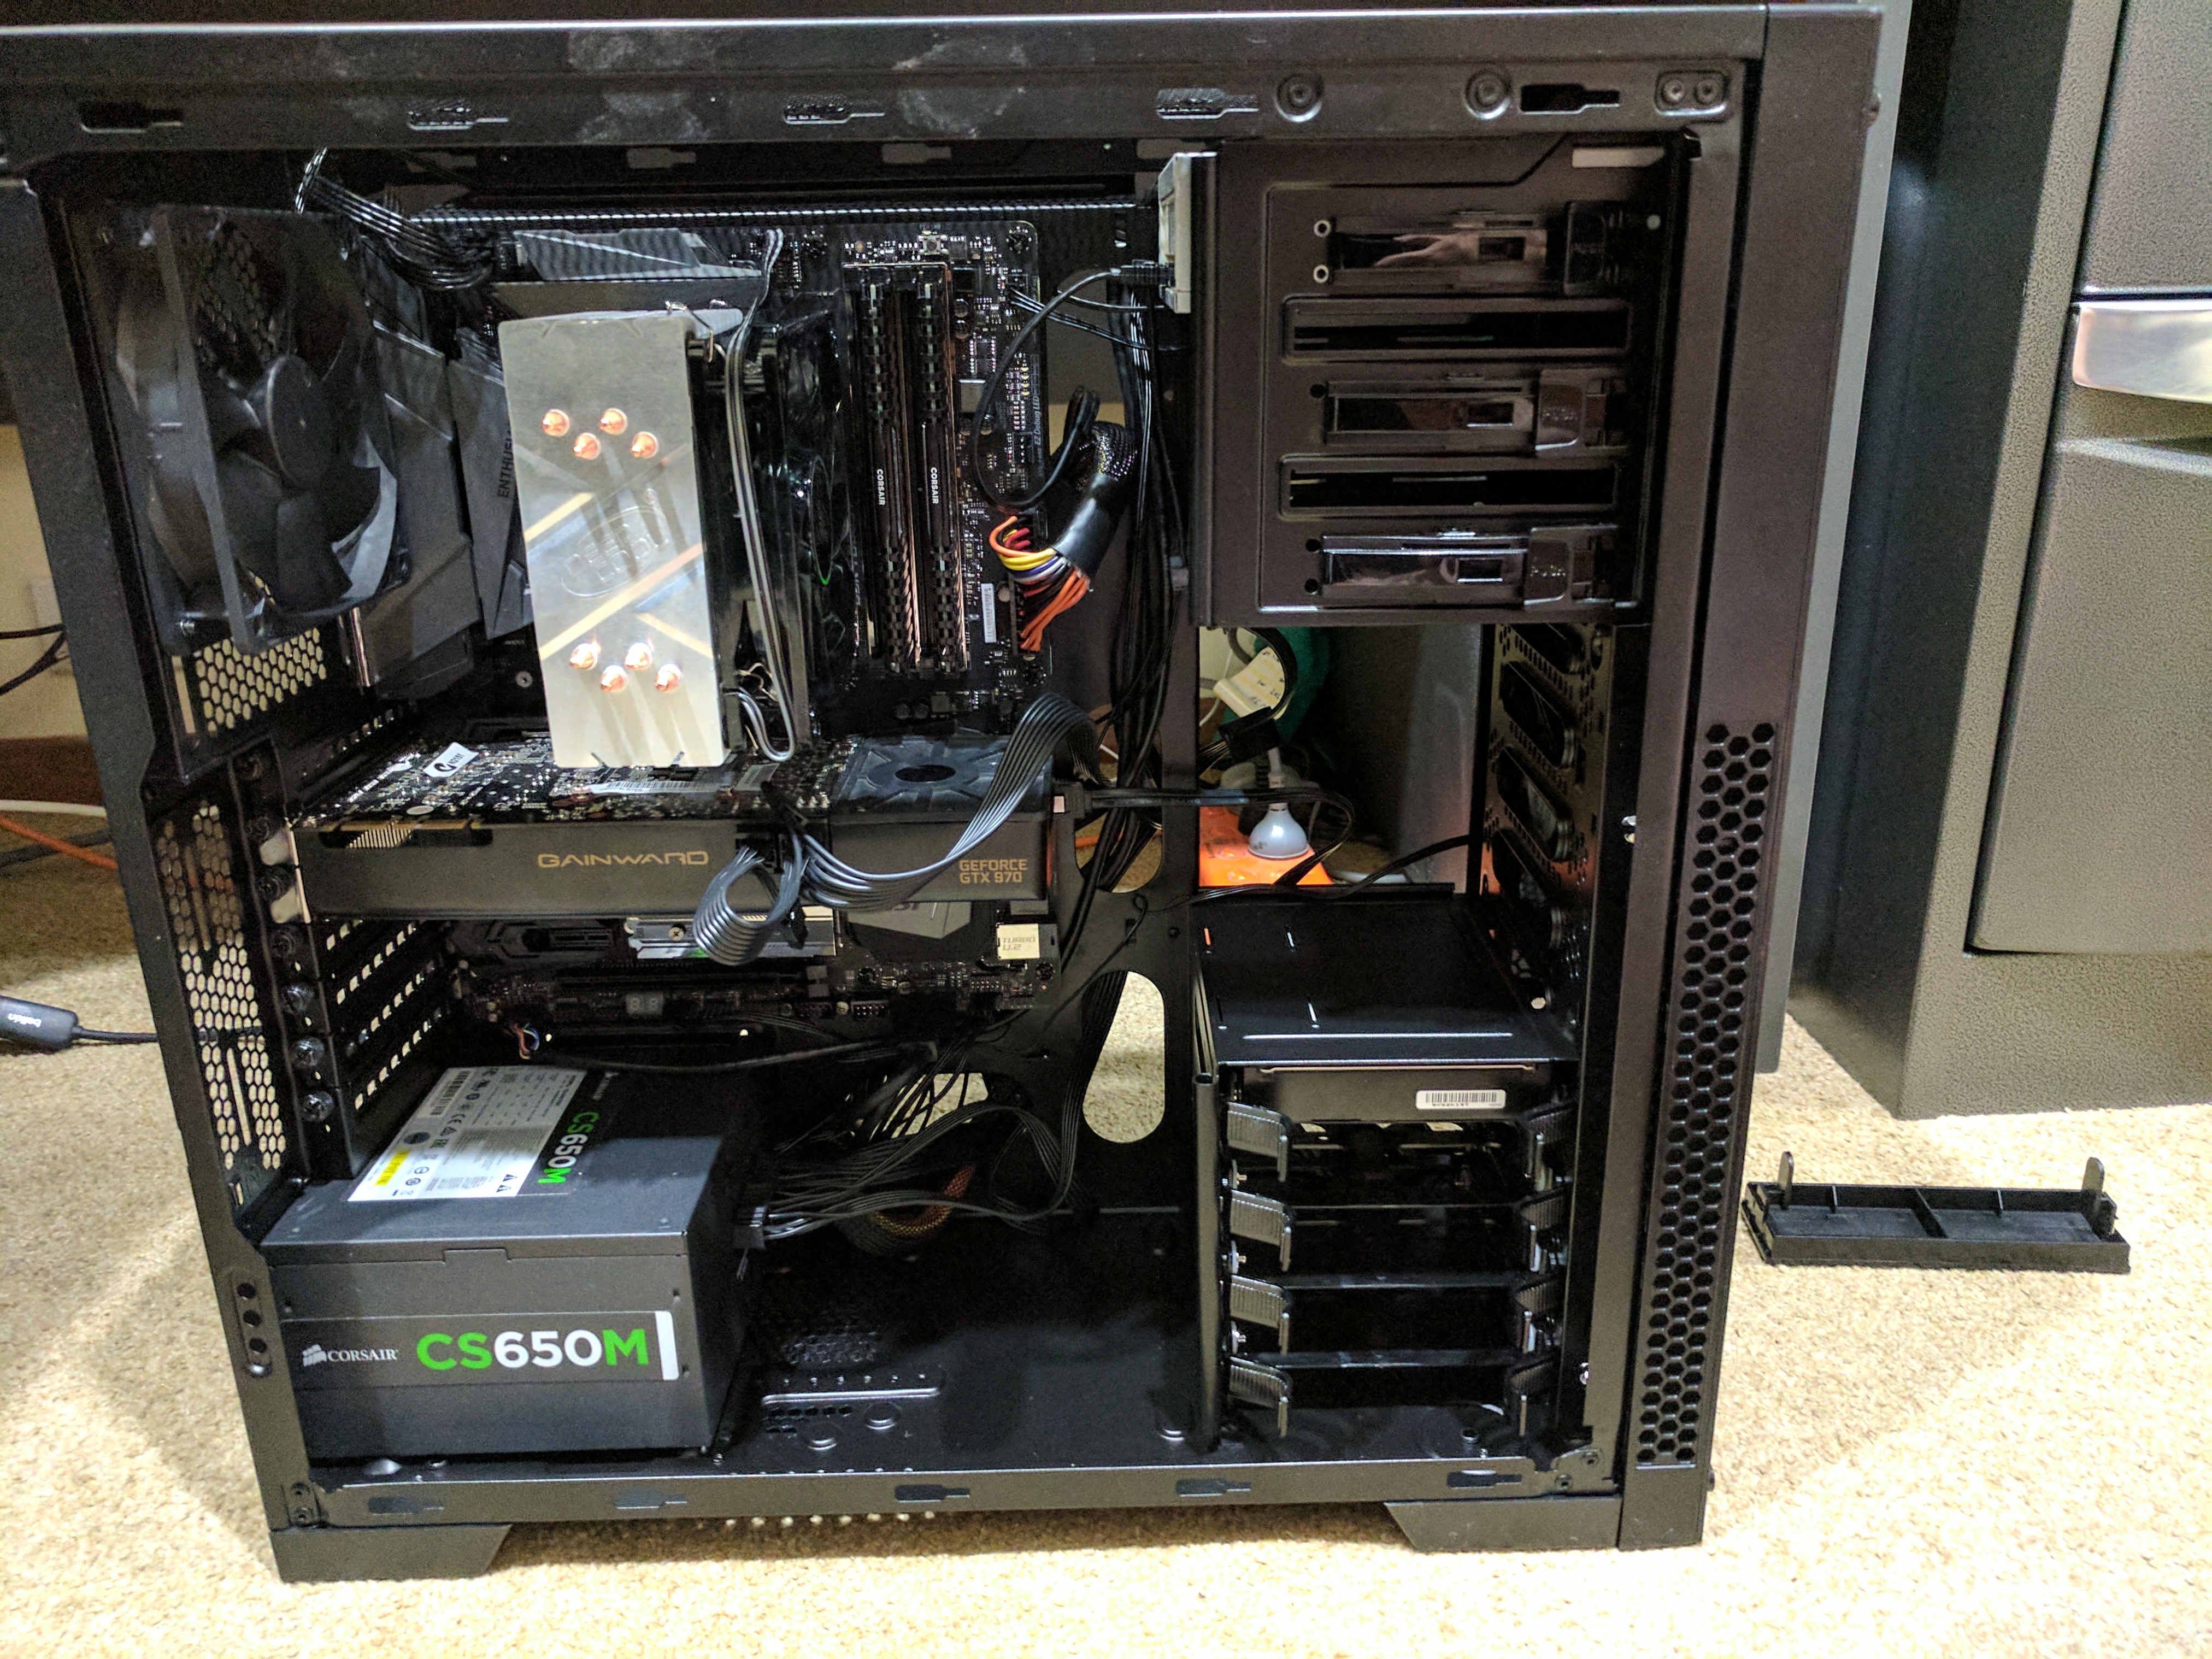
Here’s some pictures of the build process. I’m happy to report that after a few days and testing Battlefield 1, I’ve had zero blue screens, and CPU sits around 60% max when playing.


